Windows 11 in React: Everything You Need to Know
Install React on Windows 11 via Node.js
- You have to install Node.js and npm on your Windows 11 PC else React will not work.
- Users can also recreate Windows 11 in React by implementing some of Window's functionality and visual appearance.
In case you’re new to React, it is one of the best front-end development technology, an open-source JavaScript library for building user interfaces for web applications. Some of our readers have recently requested to know about Windows 11 in React.
In this article, we will tell you everything you need to know about Windows 11 in React including how to install React.js on your Windows 11 PC.
Can I install React on Windows 11?
Yes, you can install React on Windows 11. React is a JavaScript library that can be used with any operating system that supports JavaScript.
However, installing React on Windows 11 requires that you download and install some additional software —Node.js and Node Package Manager (npm)— from GitHub which are necessary for React to work properly on your Windows 11 PC.
Node.js is a JavaScript runtime environment that allows you to run JavaScript code outside of a web browser while npm is a package manager for Node.js which allows users to easily install and manage packages like React.
How to install React.js on Windows 11?
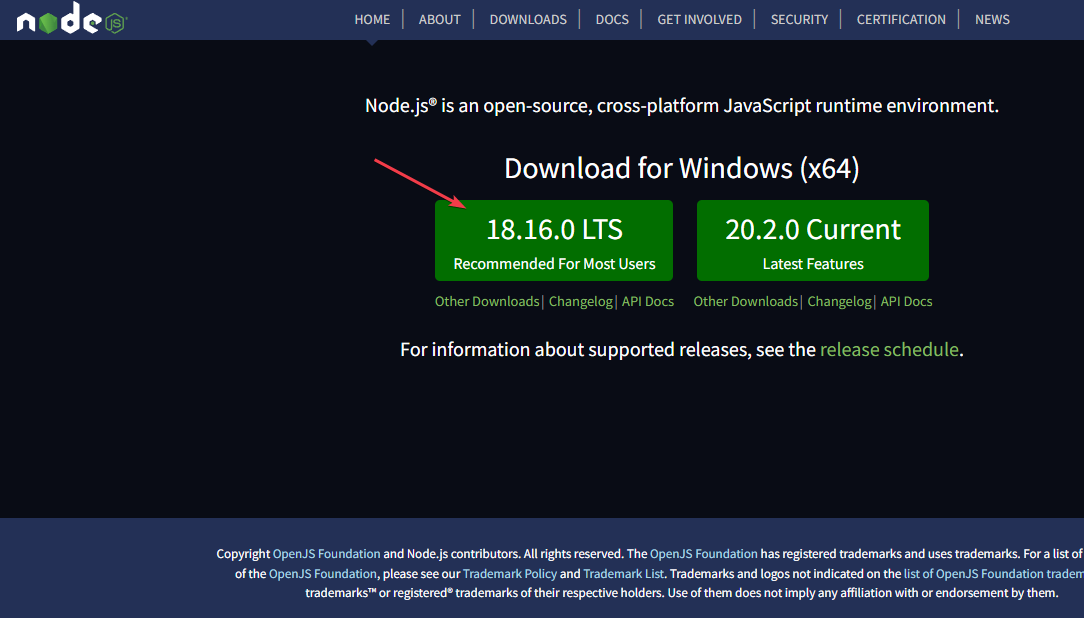
1. Install Node.js from its official website
- Open your browser and visit the official Node.js website.
- Select Windows Installer to download the 64-bit installer automatically or manually download the 32-bit installer.

- Once the download is complete, double-click the file to run the installer.
- Follow the on-screen instructions to complete the installation.

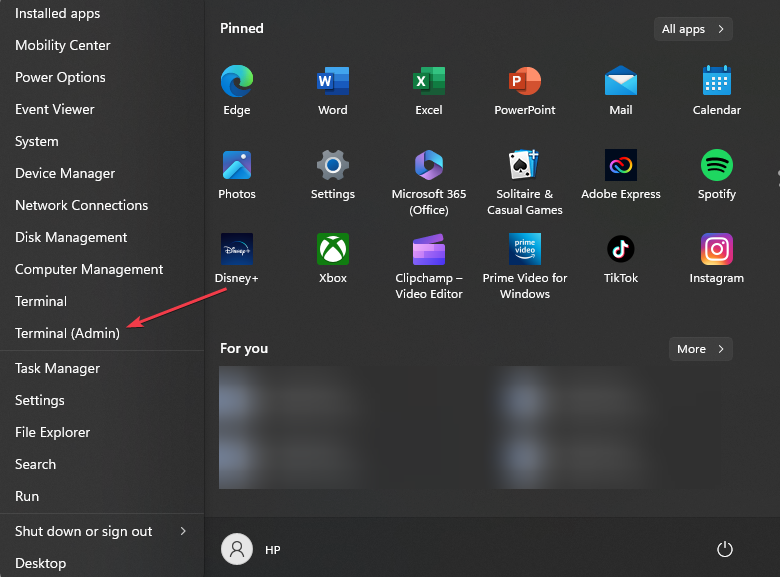
- Now, press the Windows + X keys to open the Quick Settings menu. Select Terminal (Admin) from the list.

- Run the following command in the text field and press Enter:
npx create-react-app my-react-app
- This will create a new React app in a folder named: my-app
- Next, navigate to the React app and enter the cd my-app to change your current directory to the latest React app folder.
- Now, run the command below to start the React app:
npm start - This will launch the app in your default browser.


By running this command, you should now have a working React project running on your Windows 11 computer. In case you encounter any problem with PowerShell, check our expert guide to fix it quickly.
2. Install React.js using the script tag in HTML
- Follow the steps mentioned in method 1 to install Node.js on your Windows 11 computer.
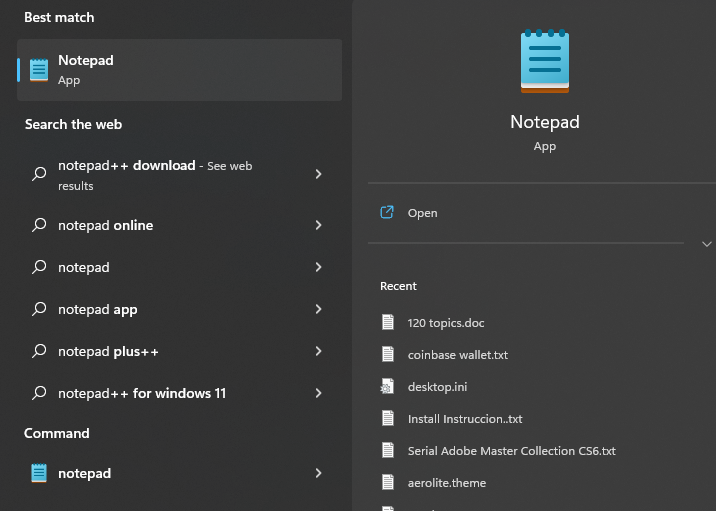
- Open a text editor app such as Notepad or Visual Studio Code and create a new HTML file.

- Save the file with a .html extension, (my-react-app.html).

- Add the following script tags to your HTML file’s head section:
<script src="https://unpkg.com/react/umd/react.development.js"></script><script src="https://unpkg.com/react-dom/umd/react-dom.development.js"></script> - Add a script tag after the above two script tags in your HTML file.
- Define your React component using JavaScript.
- In the body section of your HTML file, add a div element with the id “root”:
<body> <div id="root"></div> </body> - Now, save the HTML file and open it in your default browser.

Following the instructions correctly using the script tag in HTML, you should see Hello, React! displayed on the page. And that’s it on how to install React.js on Windows 11 PC.
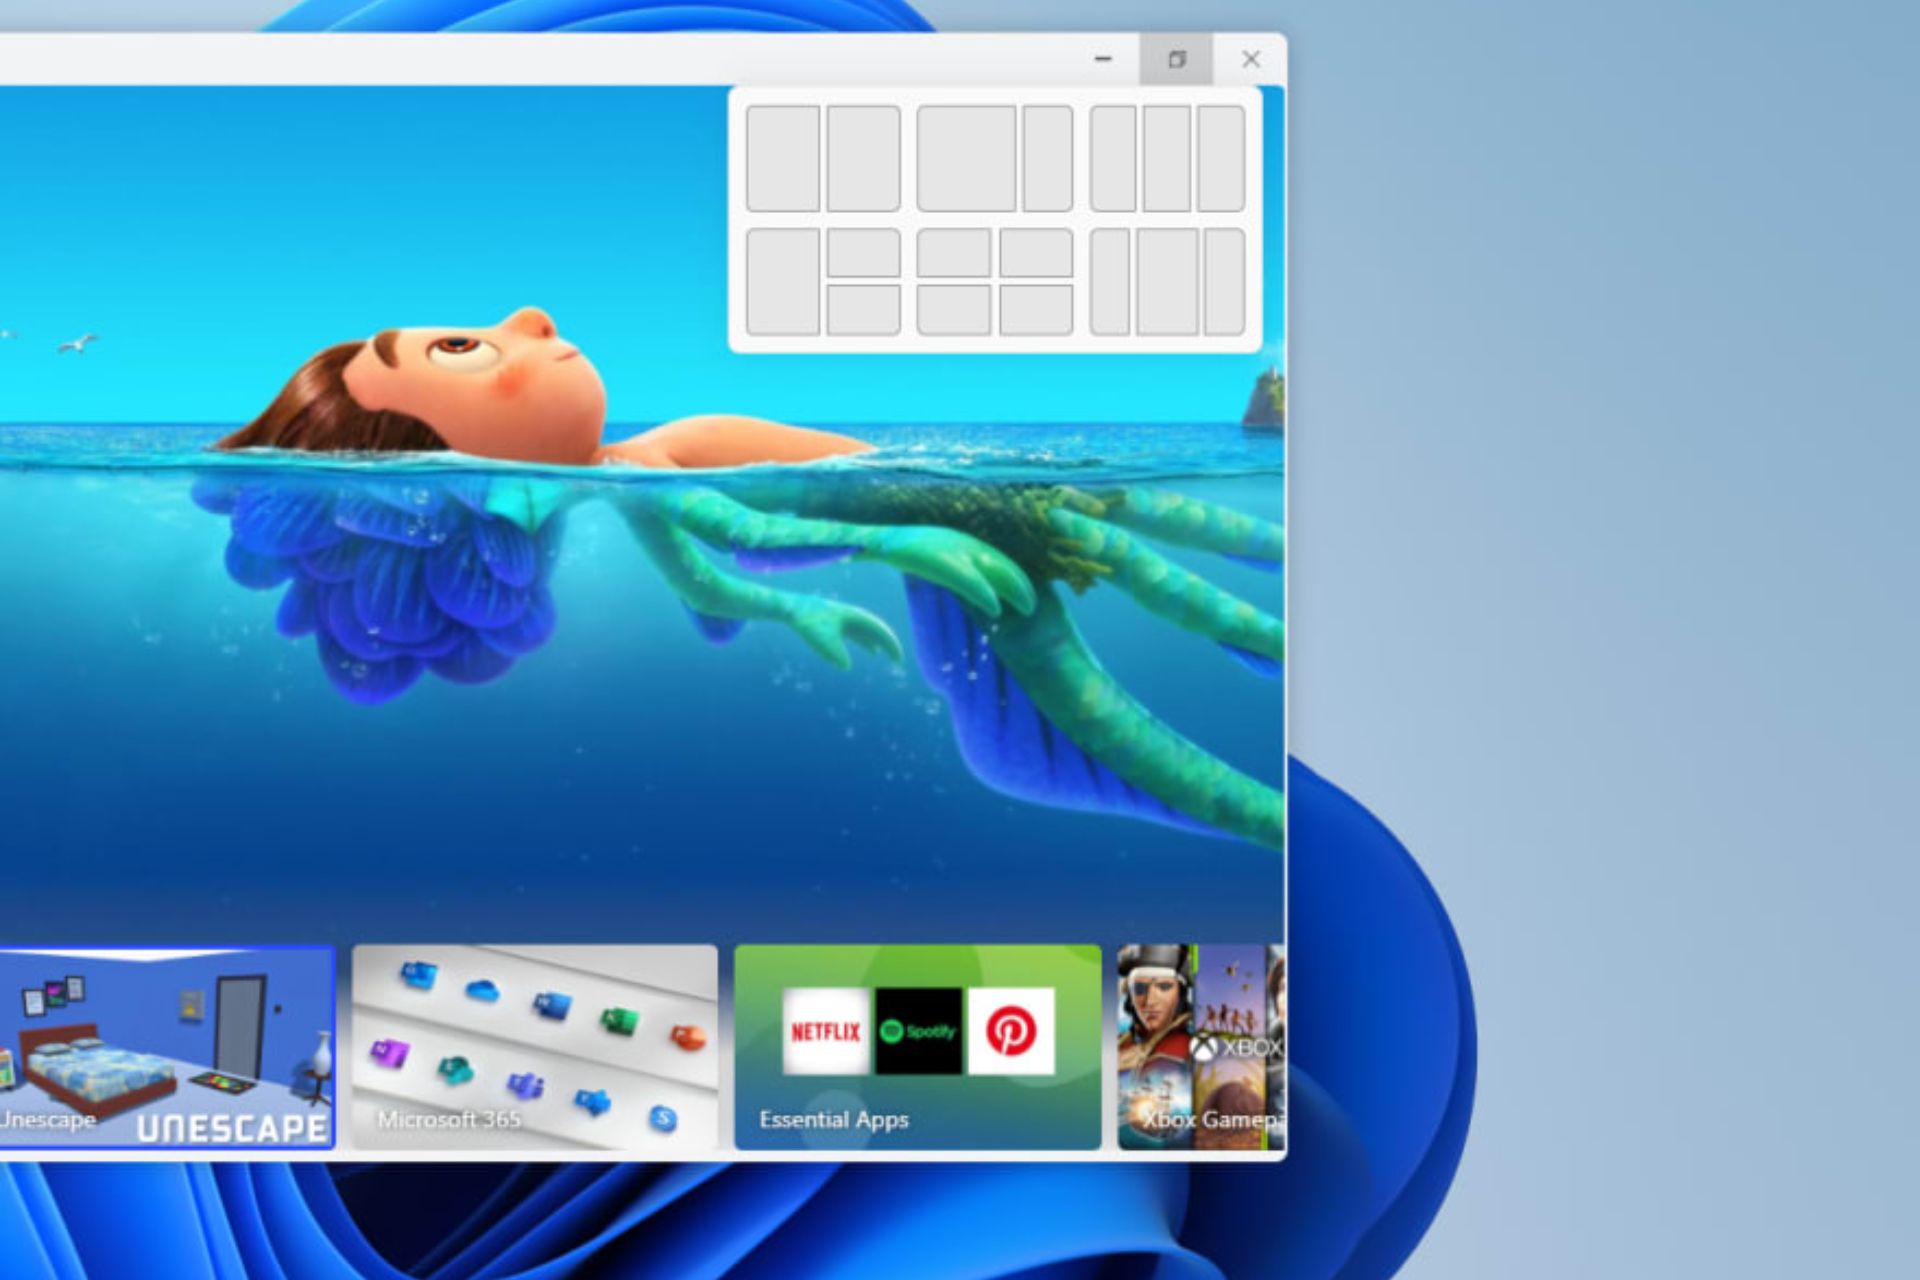
Can I recreate Windows 11 in React?
Yes, it is technically possible to recreate the visual appearance and some functionalities of Windows 11 in React.
However, to achieve that, you would need to break down the various components and visual elements of the operating system and build them using React components.
This would involve designing and implementing the Windows 11 management system, taskbar, start menu, system tray, and other UI elements.
Hopefully, the methods provided in this article have helped you to install React.js on Windows 11. In case you encounter a module not found: can’t resolve react-router-dom, check out our detailed guide to fix the issue.
If you have any questions or suggestions, do not hesitate to use the comments section below.
Still having issues? Fix them with this tool:
SPONSORED
Some driver-related issues can be solved faster by using a dedicated tool. If you're still having problems with your drivers, just download DriverFix and get it up and running in a few clicks. After that, let it take over and fix all of your errors in no time!