How to Enable or Disable Quiet Hours on Windows 11
Edit the registry to enable Quiet Hours
- You can enable Quiet Hours on Windows 11 to stop unnecessary notifications from distracting you.
- However, there is a probability that you may miss the essential notifications when you are away from your system.
- You can enable or disable Quiet Hours on Windows 11 by modifying the registry of your system.
Quiet Hours is a productivity feature of Windows 11 that helps you disable notifications. When enabled, your PC does not deliver any notifications to the user and stores them in the notifications area.
Unlike the previous iterations of Windows, there is no direct way to turn on Quiet Hours on Windows 11 but we’ve got you covered.
How do I enable and disable Quiet Hours in Windows 11?
1. Using Group Policy Editor
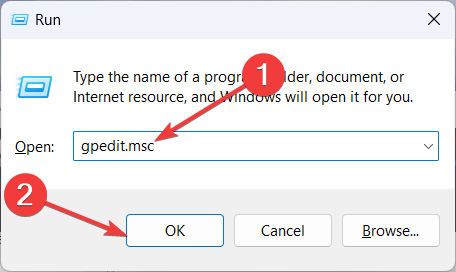
- Bring up the Run dialog box using the Windows + R keyboard shortcut.
- Type the following command in the text box and hit the OK button.
gpedit.msc
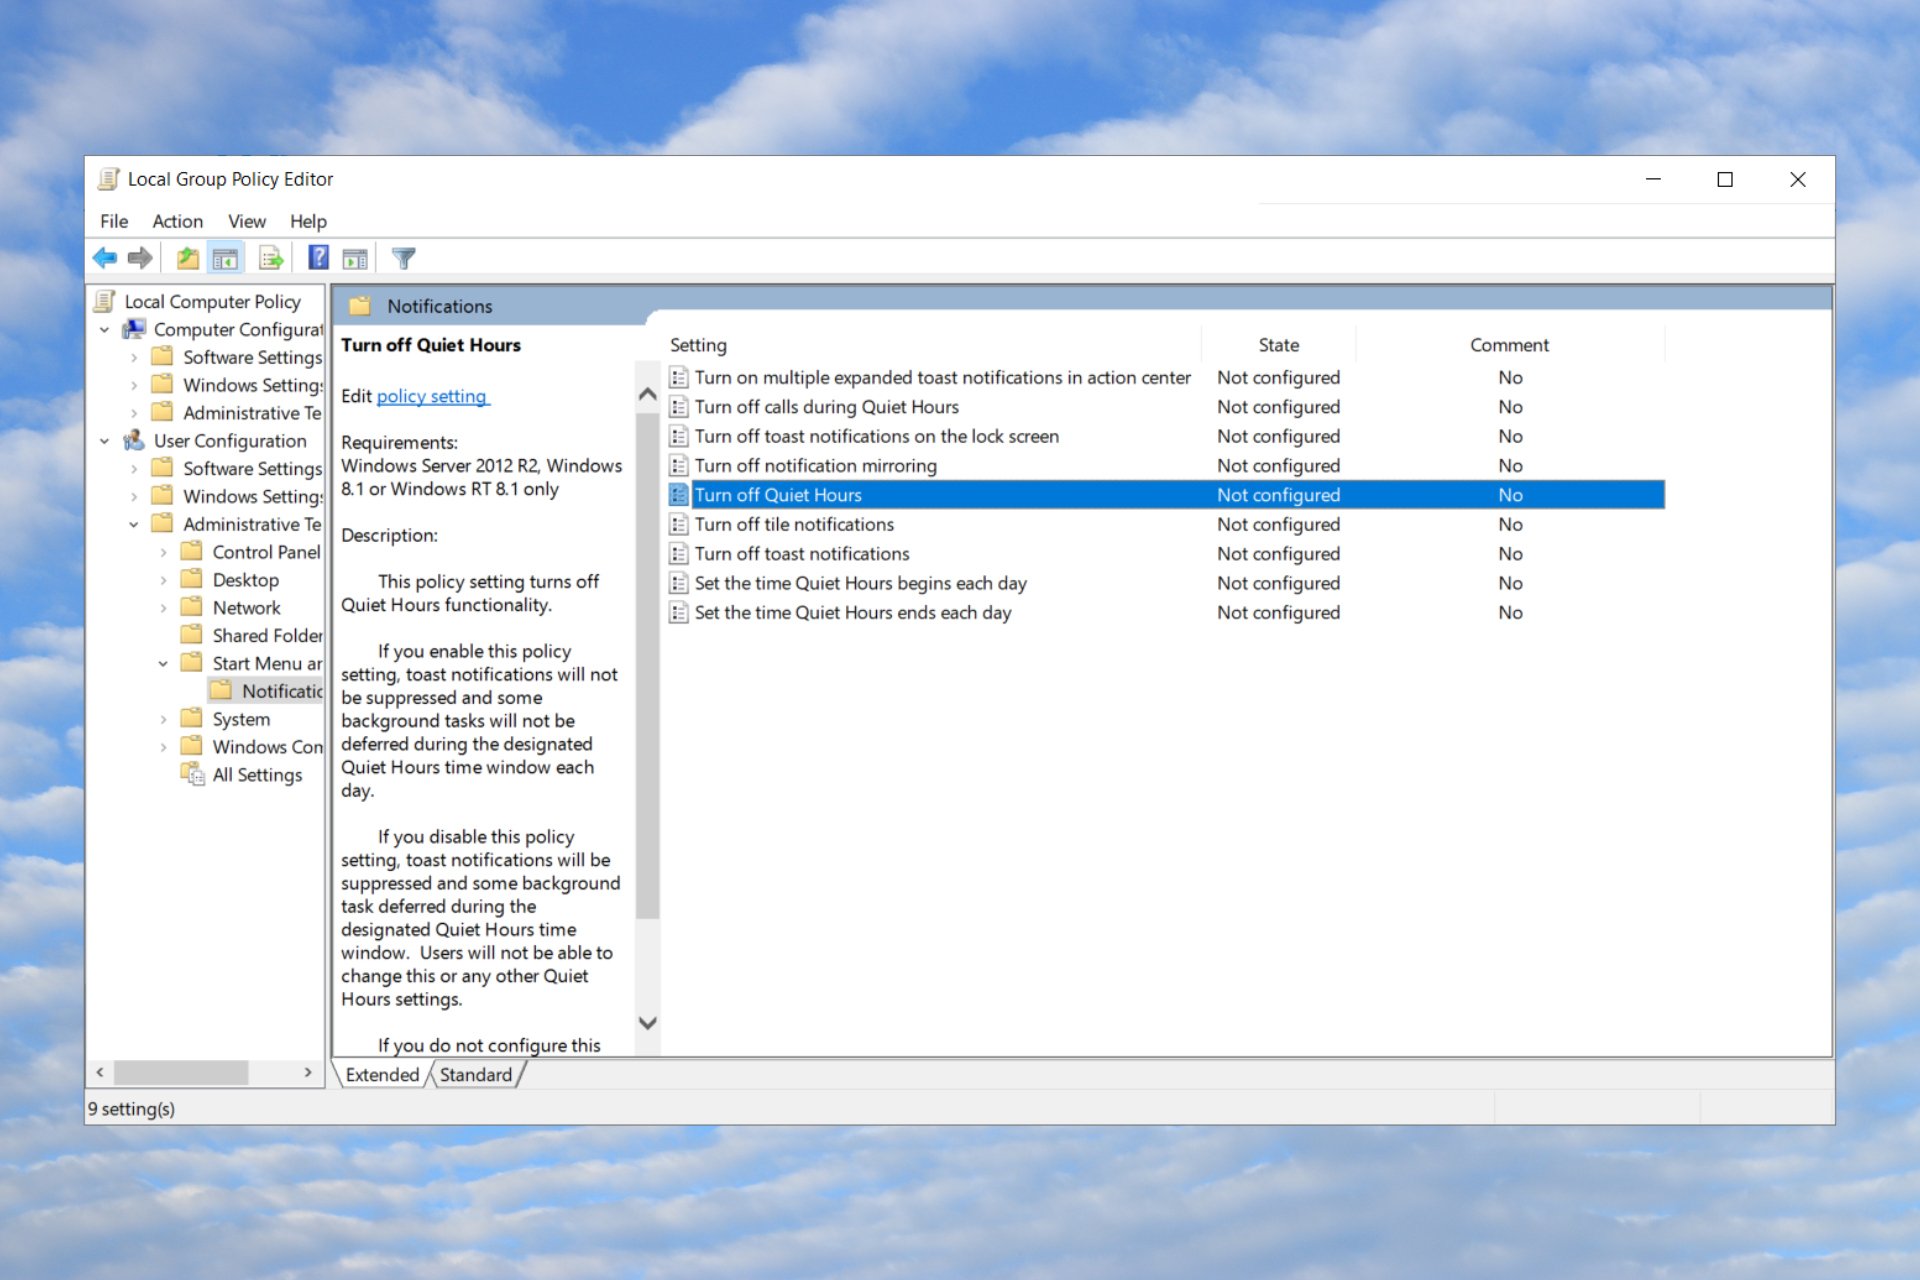
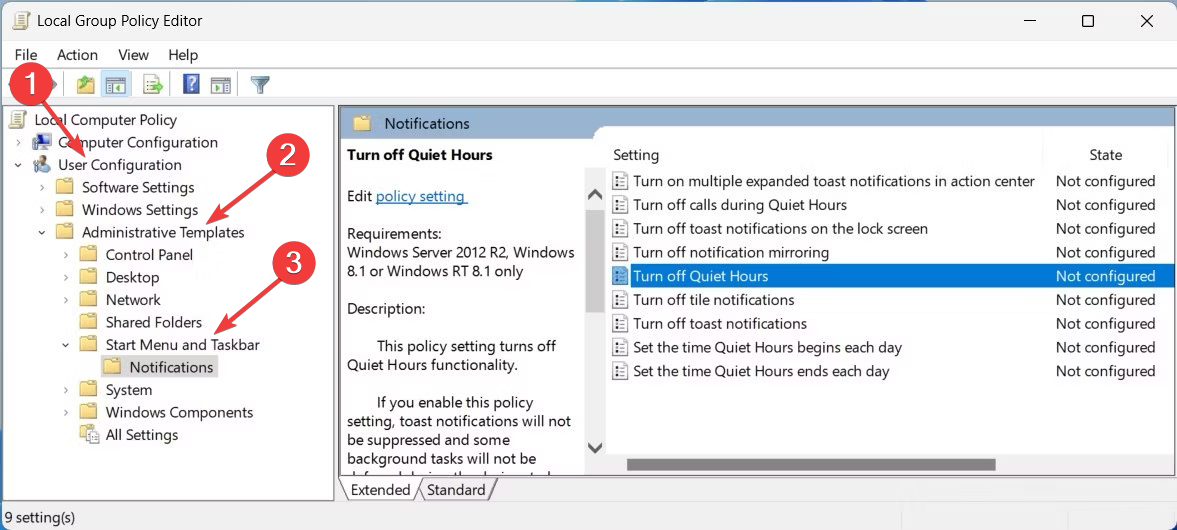
- In the Group Policy Editor window, expand User Configuration in the left sidebar followed by Administrative Templates and Start Menu and Taskbar option.

- Next, look for the Turn off Quiet Hours option in the right section of the window and double-click it.
- In the next window that pops up, make sure that the Enabled checkbox is selected.

- After making the changes, press the Apply button followed by OK.
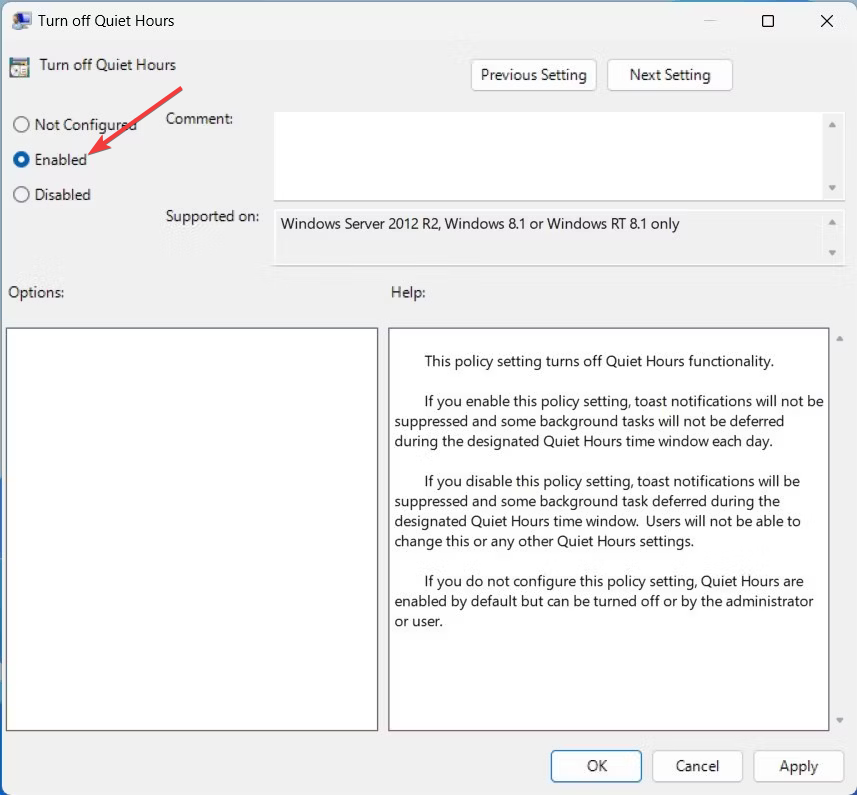
If you ever want to disable the Quiet Hours feature, simply select the radio button next to Disable instead of Enable and hit the Apply button to save the changes.
You can easily enable and disable the Quiet Hours feature in Windows 11 by modifying the Group Policy Editor.
However, there is a catch! Group Policy Editor is only accessible on Windows Pro and Enterprise editions. To execute the above steps on the Home edition of Windows, you need to enable and install Local Group Policy Editor on your PC.
2. Using Registry Editor
 NOTE
NOTE
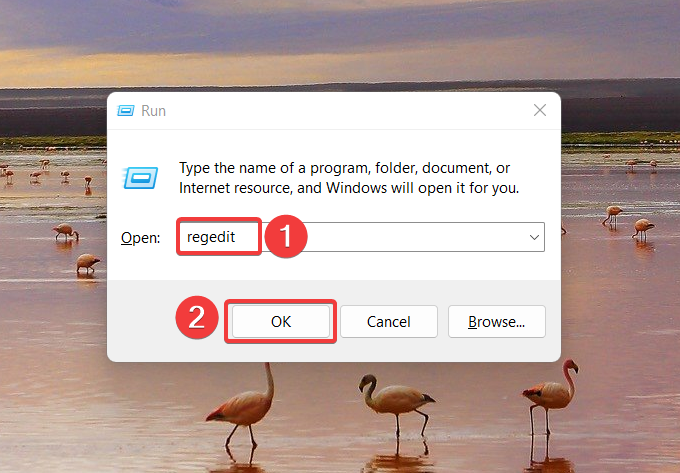
- Open the Run dialog box using the Windows + R shortcut key, type the following command in the text box, and hit OK to launch the Registry Editor.

- The User Action Control prompt pops up, press the Yes button to launch Registry Editor with administrative privileges.
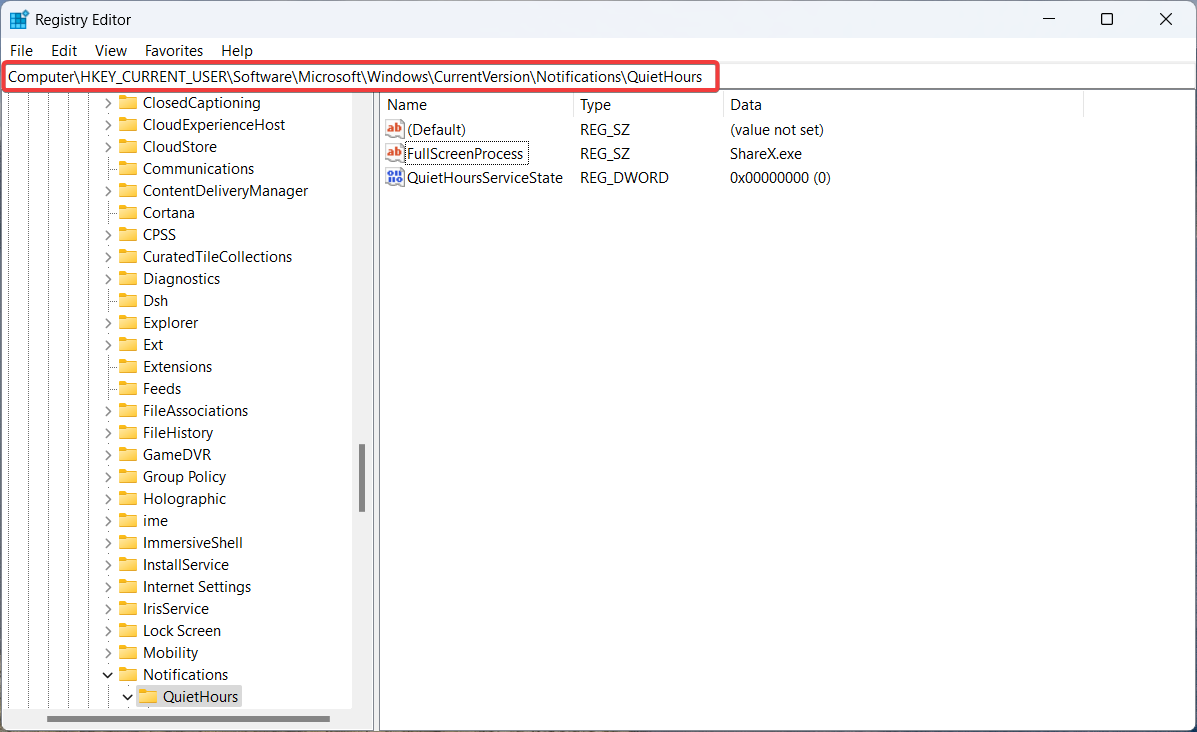
- Navigate to the following path in the Registry Editor window:
Computer\HKEY_CURRENT_USER\Software\Microsoft\Windows\CurrentVersion\Notifications\QuietHours
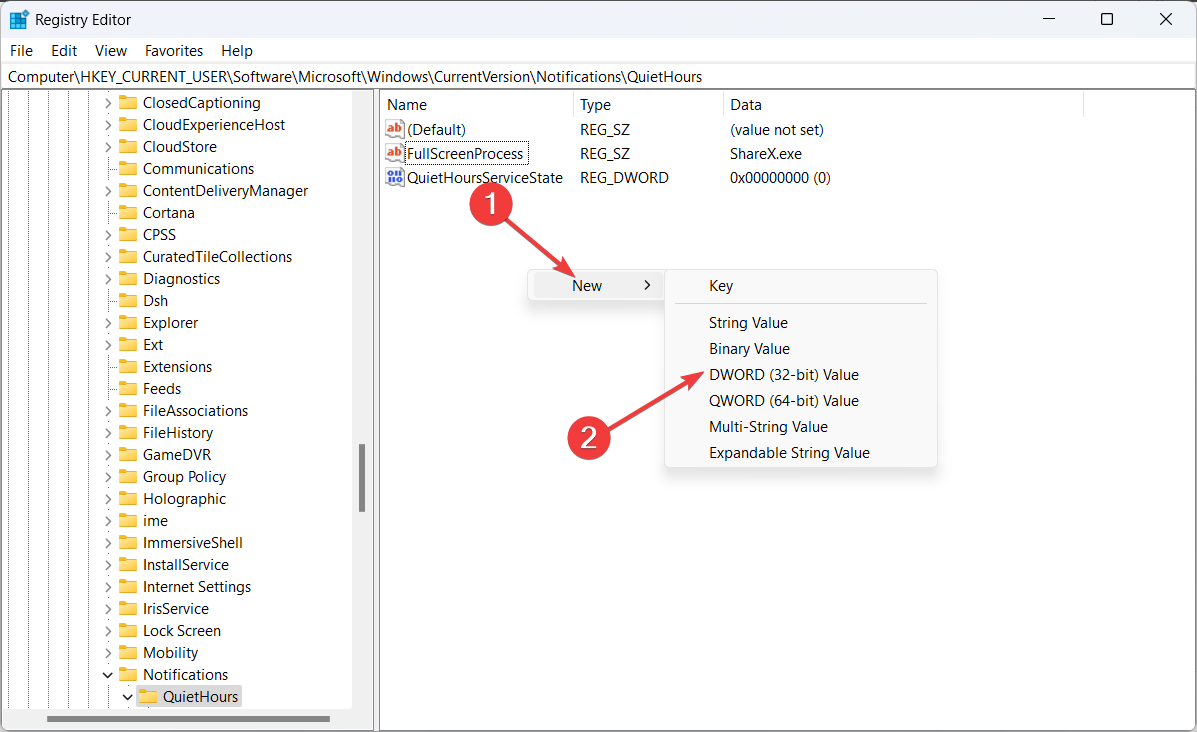
- In the right section, right-click anywhere on the empty space and choose New from the context menu, followed by DWORD (32-bit) Value from the sub-menu.
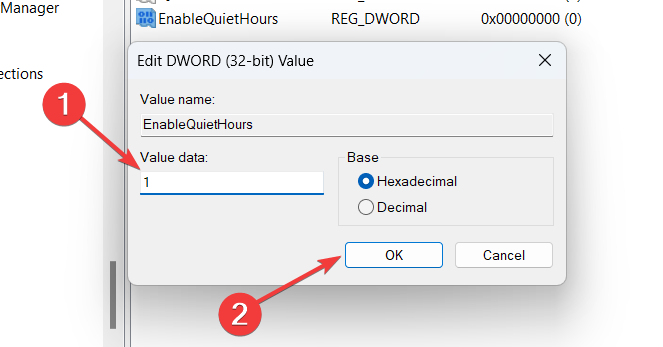
- Rename this 32-bit DWORD as EnableQuietHours.
- Right-click EnableQuietHours and choose Modify from the context menu.
- In the Edit DWORD (32-bit) value) window, assign 1 in the Value data field, and press OK to save the changes.

Now exit the Registry Editor window and restart your PC. The quiet Hours feature will now be enabled on your Windows system upon restart.
If you ever want to disable Quiet Hours in Windows 11, follow the steps mentioned above. However, assign 0 in the Value data field instead of 1 and press OK to save the changes.
Modifying the registry is the simplest way to enable Quiet Hours on your Windows 11 PC.
In case, you make a mistake while modifying the registry and forgot to back it up, learn how to restore the registry from this guide.
That’s how effortlessly you can enable and disable the Quiet Hours feature on your PC running on Windows 11.
In case you wish to enable and use Focus Assist, a sophisticated version of Quiet Hours for your Windows 11 PC, follow the steps provided in this guide.
If you have any feedback or suggestions for us, feel free to let us know in the comments section.
Still having issues? Fix them with this tool:
SPONSORED
If the advices above haven't solved your issue, your PC may experience deeper Windows problems. We recommend downloading this PC Repair tool (rated Great on TrustPilot.com) to easily address them. After installation, simply click the Start Scan button and then press on Repair All.