How to Register Schema.dll (Active Directory MMC Snap-in)
You can use Command Prompt or Powershell to register it
- Registering the Schema.dll file is necessary to make it accessible and usable by the Active Directory MMC Snap-in.
- You can use Command Prompt, Registry Editor or Windows PowerShell to do the same with ease.
Registering the schema.dll file is important to ensure the smooth functioning of the Active Directory MMC Snap-in.
The Active Directory MMC Snap-in is a powerful management tool used to administer and control various aspects of the Active Directory service in Windows Server environments.
In this guide, we will explore the process of registering the file, providing you with the knowledge and steps required to integrate it into the Active Directory MMC Snap-in successfully.
How can I register schema.dll?
Before engaging in advanced troubleshooting steps, you should consider performing the following checks:
- Must have admin access to the machine.
- You should know the location of the Schema.dll file on your system, which is typically the C:\Windows\System32 directory.
Once checked, move to the different methods to register the file.
1. Use a third-party DLL fixer
Fixing DLL missing errors or registering DLL files manually could be tricky and harm your PC if not done correctly. Therefore, it is advised to use a third-party DLL fixer tool to address this issue effectively.
Tools like this can scan your device for missing DLL files and quickly register files like schema.dll. Hence, resolving the conflicts between third-party apps & operating systems, enhancing system performance, and achieving greater stability for your PC.
2. Use the Command Prompt
2.1 Register Schema.dll
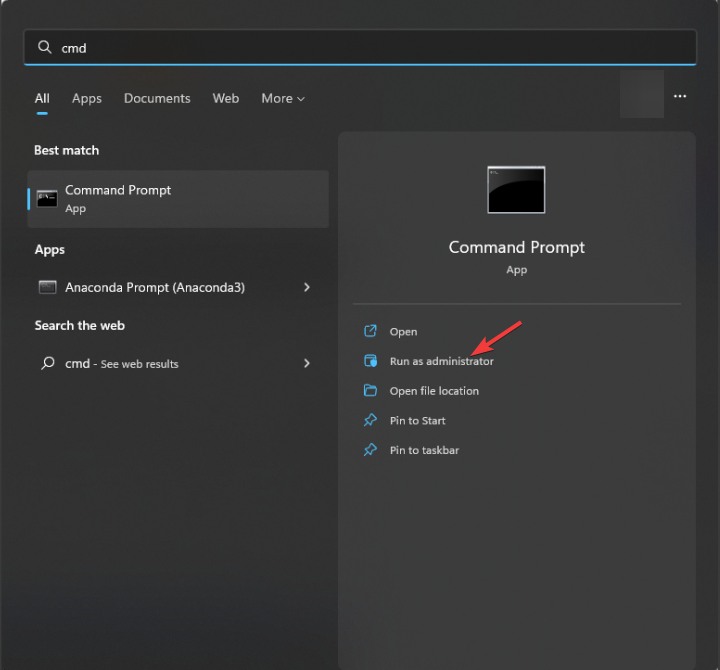
- Press the Windows key, type cmd, and click Run as administrator.

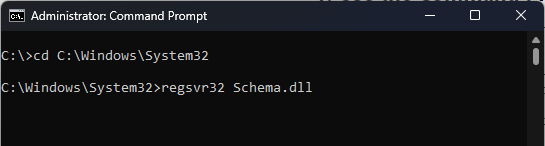
- To navigate the directory containing the Schema.dll file, use the cd command and type the following command and hit Enter:
cd C:\Windows\System32 - To register the Schema.dll file, copy & paste the following command and press Enter:
regsvr32 Schema.dll
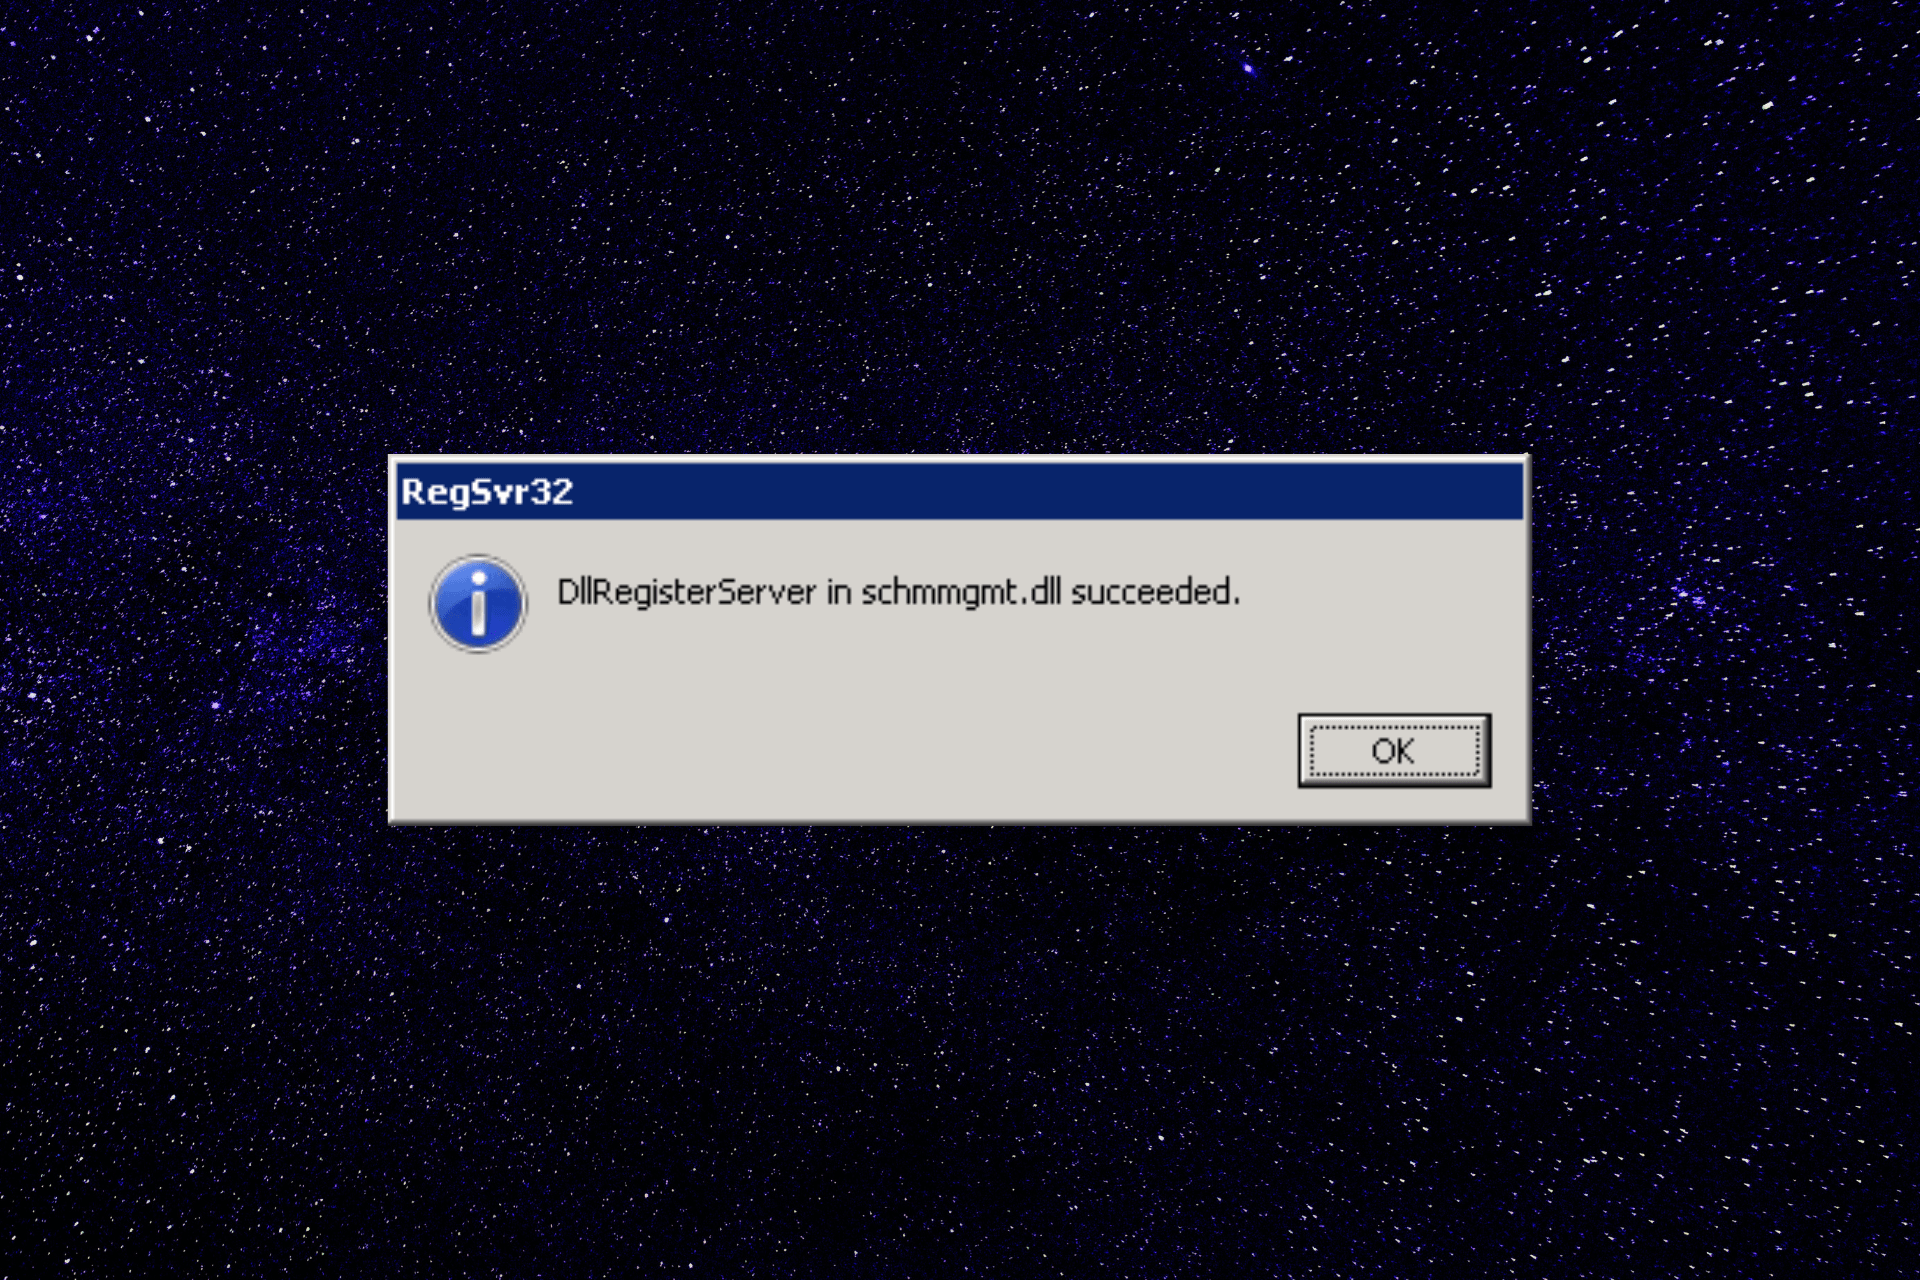
- You should see a pop-up message indicating that the registration was successful.
2.2 Create a MMC console with Active Directory Schema snap-in
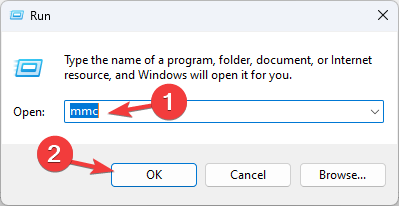
- Press Windows + R to open the Run window.

- Type mmc and click OK to open Microsoft Management Console.
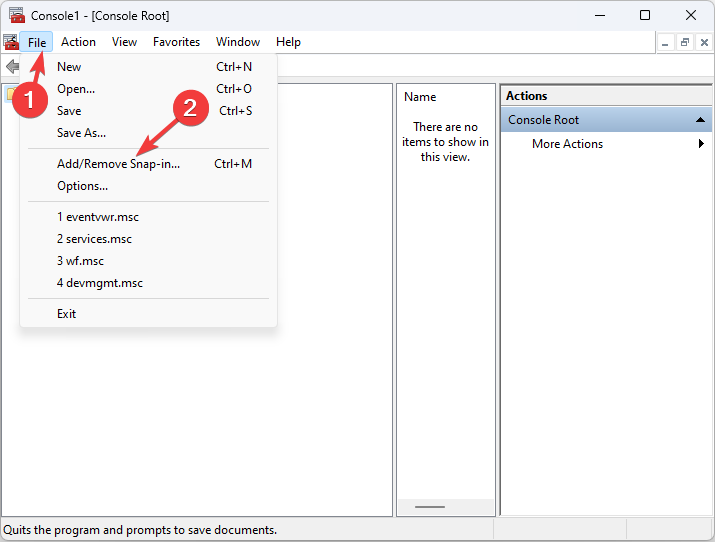
- Click File, then select Add/Remove Snap-in.

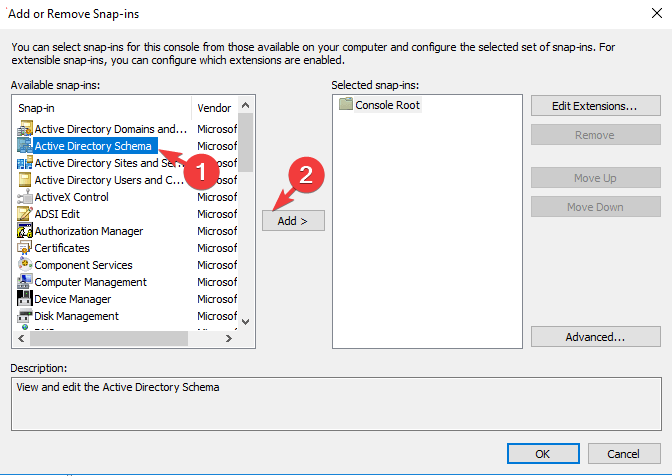
- On the Add/Remove Snap-in, locate and select Active Directory Schema.
- Click Add.

- Click Close, then OK in the Add/Remove Snap-in dialog box.
- Choose the File, and click Save As.
- On the Save As dialog box, type Schema.msc and click Save.
2. Use Windows PowerShell
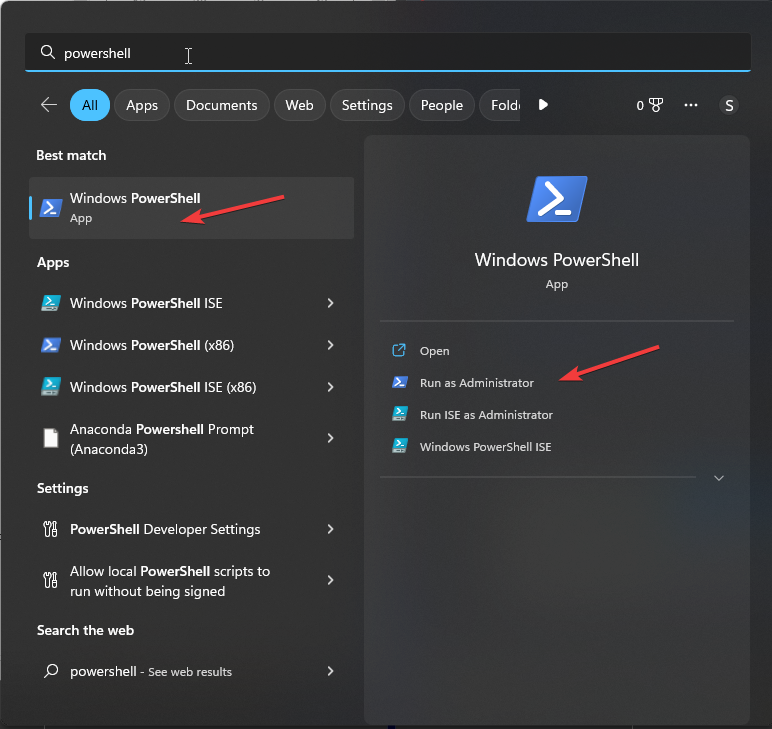
- Press the Windows key, type powershell, and click Run as administrator.

- To navigate to the directory containing the Schema.dll file, use the cd command, then type the following command and hit Enter:
cd C:\Windows\System32 - Now to register the Schema.dll file, copy & paste the following command and press Enter:
[System.Reflection.Assembly]::LoadFile("Schema.dll").Location | ForEach-Object {regsvr32 $_}
- You will receive a message indicating that the registration was successful.
- Close and reopen the MMC Snap-in and follow the same method mentioned in Solution 1.2.

So, these are methods to register the schema.dll and make sure Active Directory MMC Snap-in is functioning correctly.
If you are looking for a way to set permissions in Active Directory for users, we suggest you check out this guide for step-by-step instructions.
Please feel free to give us any information, tips, and your experience with the subject in the comments section below.
Still experiencing issues?
SPONSORED
If the above suggestions have not solved your problem, your computer may experience more severe Windows troubles. We suggest choosing an all-in-one solution like Fortect to fix problems efficiently. After installation, just click the View&Fix button and then press Start Repair.