Gcapi.dll: What Is It & How to Remove It
Uninstall the Google Chrome or Anydesk apps to remove the file
- Gcapi.dll stands for Google Cloud Application Program Interface.
- It is a Dynamic Link Library file that is installed as a part of Google Chrome or Anydesk.
- You can remove the DLL file by uninstalling the program using it and deleting it from File Explorer.
There are many DLL files running on the system, some of which are essential for the system’s performance and some dangerous. However, our readers have reported concerns about the Gcapi.dll on their Windows PC. Hence, this article will discuss what it is and how to remove it.
Also, we have a detailed guide about missing .dll files after Windows update and ways to fix it.
What is Gcapi.dll?
Gcapi.dll is a Dynamic Link Library file that runs as a part of the Google Chrome web browser by Google LLC. The file name Gcapi is an acronym for Google Cloud API (Application Program Interface) and plays an essential part in the online Google Cloud Services on your computer.
Further, this file can also be attributed to Anydesk. It’s usually located inside the Anydesk setup folder and considered essential for it to function effectively.
Additionally, Gcapi.dll is not an essential Windows file but is integrated into Windows using the .dll Dynamic Link Library to aid the app’s use. Thus, any PC with Google Chrome or Anydesk running as its browser will most likely have the Gcapi.dll file.
However, DLL files like Gcapi.dll are targets for malware and virus attacks because they can easily camouflage as legitimate files. So, it is advisable to remove the file if it is causing issues with the computer.
How can I remove Gcapi.dll from my PC?
Before proceeding with the steps below, observe the following preliminary checks:
- Backup your system – Backing up your computer allows you to access your files and other documents safely if anything goes wrong when altering the DLL file.
After this, try the following steps to remove the file.
1. Uninstall Chrome / Anydesk
- Press Windows + I key to open the Windows Settings app.
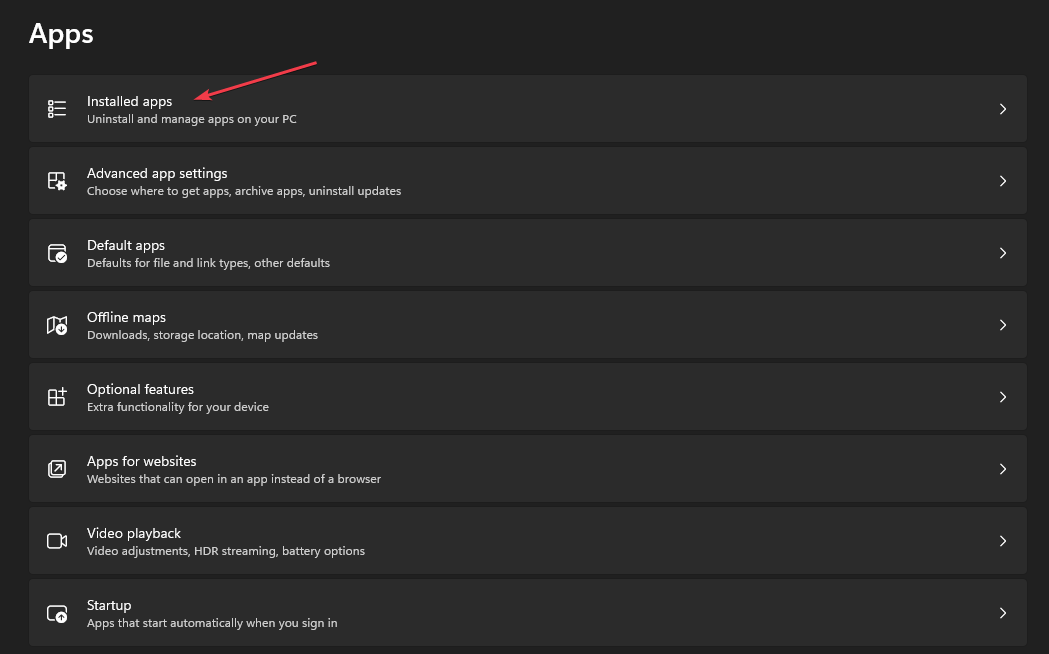
- Select Apps from the Settings menu and select Installed apps.

- Navigate to Anydesk / Chrome, click on the options, then select Uninstall from the context menu.

- Reinstall the Chrome browser on your computer.
- Restart your PC and check if the file still exists.

Uninstalling the Google Chrome browser will remove files that were downloaded when it was downloaded. Hence, reinstalling the browser from the official site will only install legitimate files that are needed for its processes.
2. End the task for the Gcapi.dll process
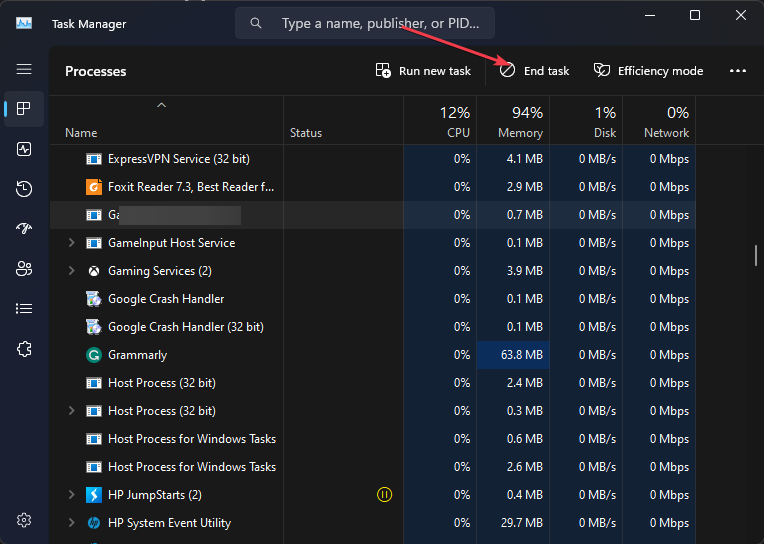
- Right-click the Start button and select Task Manager from the menu.
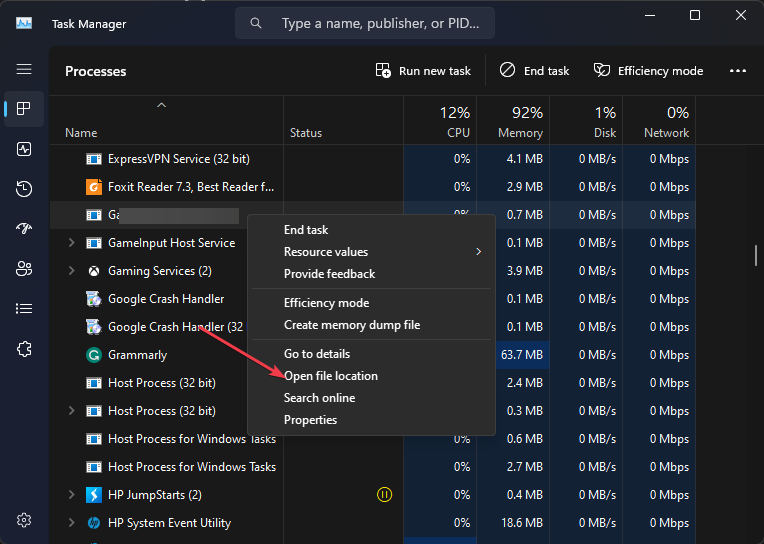
- Go to the Processes tab. Select the Gcapi.dll from the list, right-click on it, then click End Task from the drop-down menu.

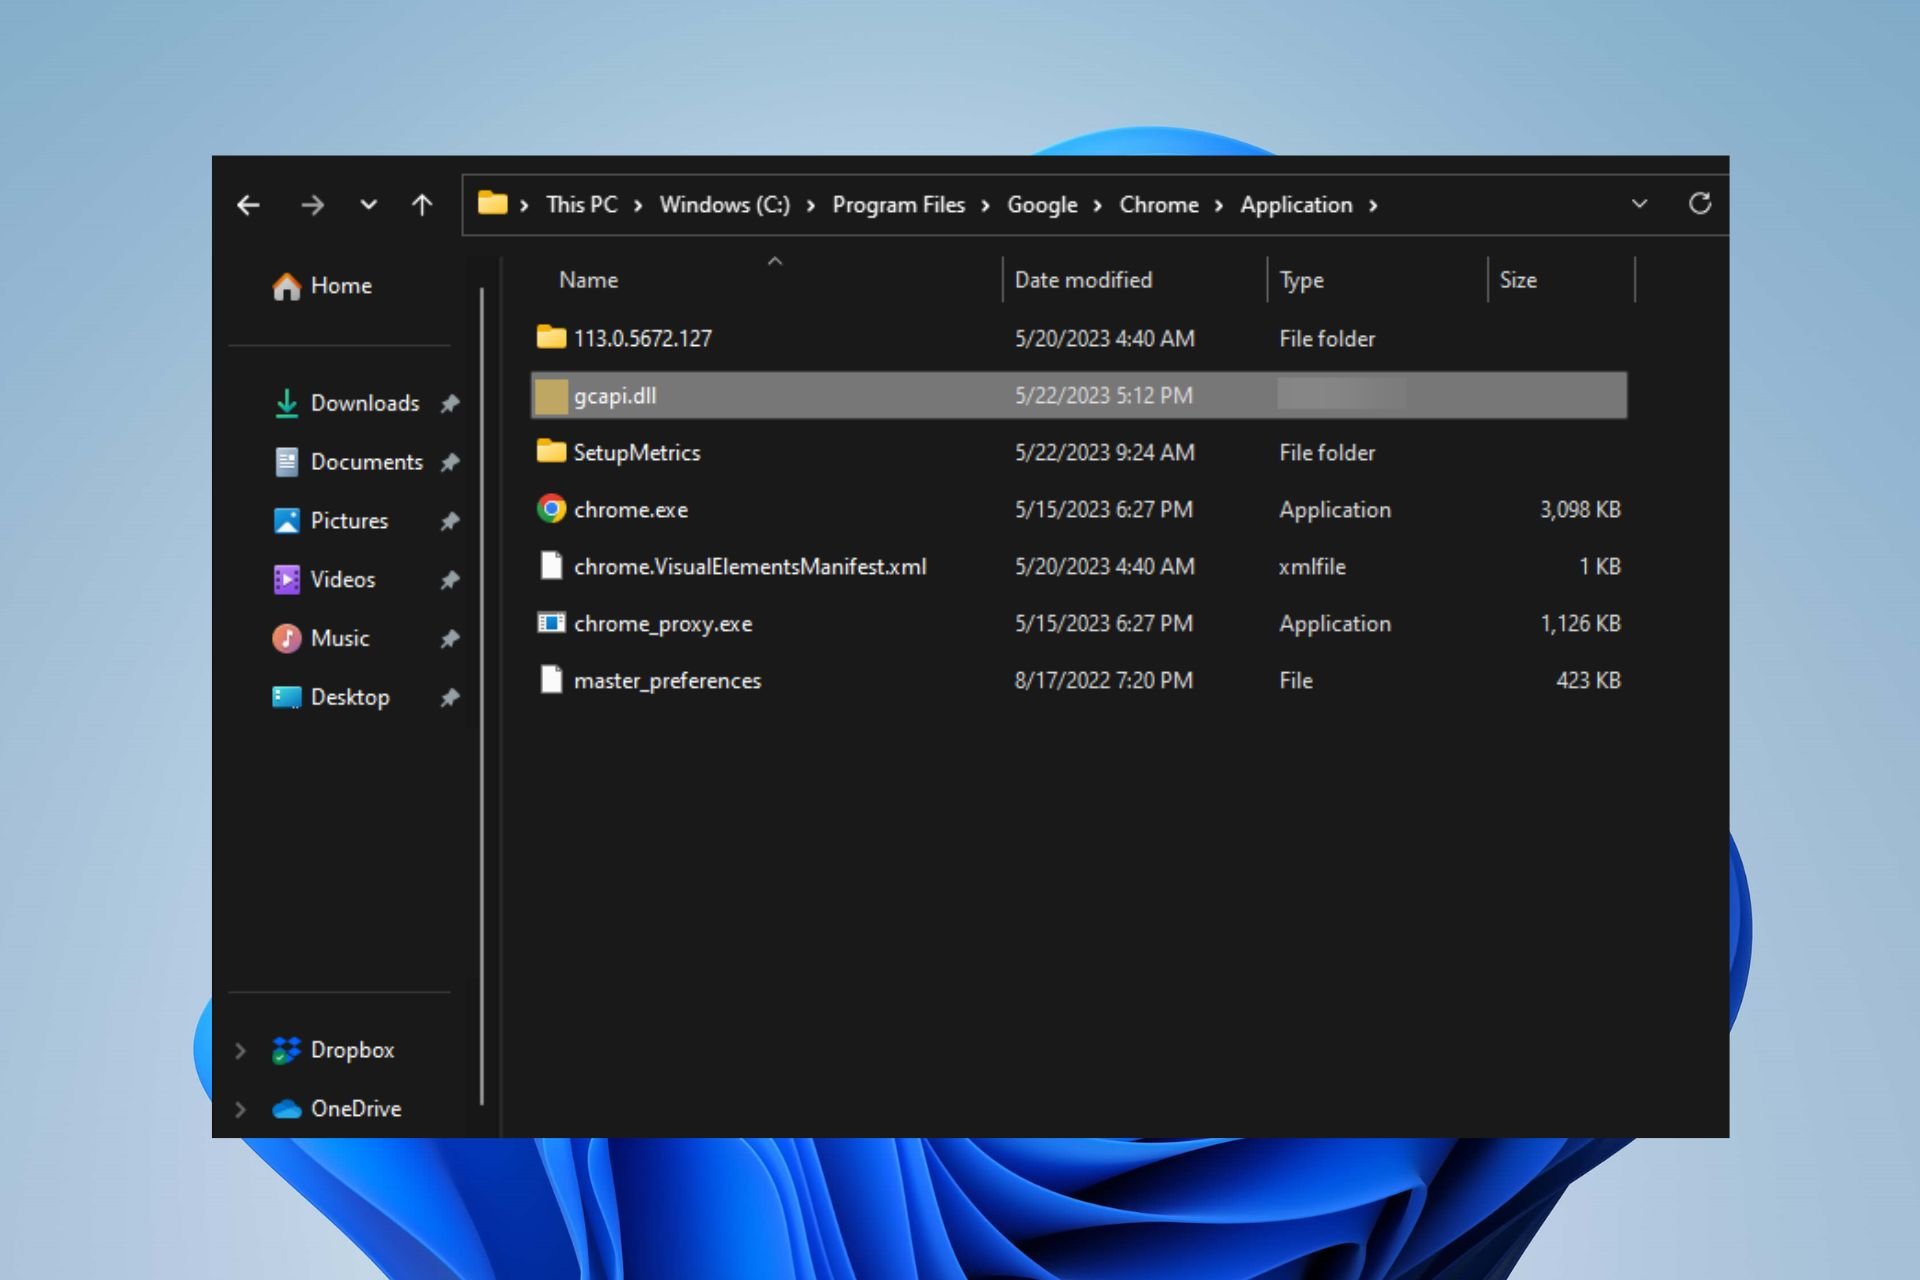
- Right-click on Gcapi.dll in the Task Manager and select Open file location from the context menu.
- In the file location in Windows Explorer, right-click on the file and select Delete from the context menu.

- Restart your PC.

Ending the Gcapi.dll process on your PC will kill its background activities and stop it from running. Then, deleting the file from File Explorer will uproot it from the system.
You can check our article for more shortcuts to open Task Manager on your PC if you can’t get around the steps above.
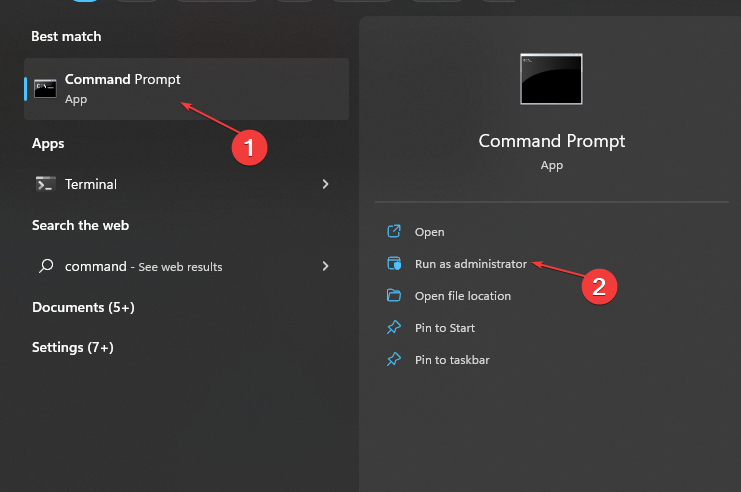
3. Reset the HP desktop via the Command Prompt
- Left-click the Start button, type the command prompt, and select Run as administrator.

- Click Yes on the User Account Control prompt.
- Copy and paste the following command and press Enter:
systemreset -factoryreset
- Now you should be able to see the traditional reset window on your screen.
- Follow the on-screen instructions to reset your PC.

Running the above command option will trigger the traditional Windows 11 Reset dialog box from Command Prompt, allowing you to select your preferred option.
Go through our detailed guide about how to reset Windows 11 to its factory settings on your PC.
In conclusion, you may be interested in our article about Psapi.dll missing error and how to quickly fix it on Windows 11. Also, we have a comprehensive guide on Dnsapi.dll not found and ways to resolve the error.
If you have further questions or suggestions regarding this guide, kindly drop them in the comments section.
Still having issues? Fix them with this tool:
SPONSORED
If the advices above haven't solved your issue, your PC may experience deeper Windows problems. We recommend downloading this PC Repair tool (rated Great on TrustPilot.com) to easily address them. After installation, simply click the Start Scan button and then press on Repair All.