Lockapp.exe: What Is It & How to Disable It
Disable LockApp.exe via the Windows Registry Editor
- LockApp.exe is a component of the Windows operating system that is the executable for the Lock Screen app.
- Some users report that the program is using loads of CPU and system resources, and other errors it causes on the computer.
- You can disable the LockApp.exe via the Windows Registry Editor and File Explorer.
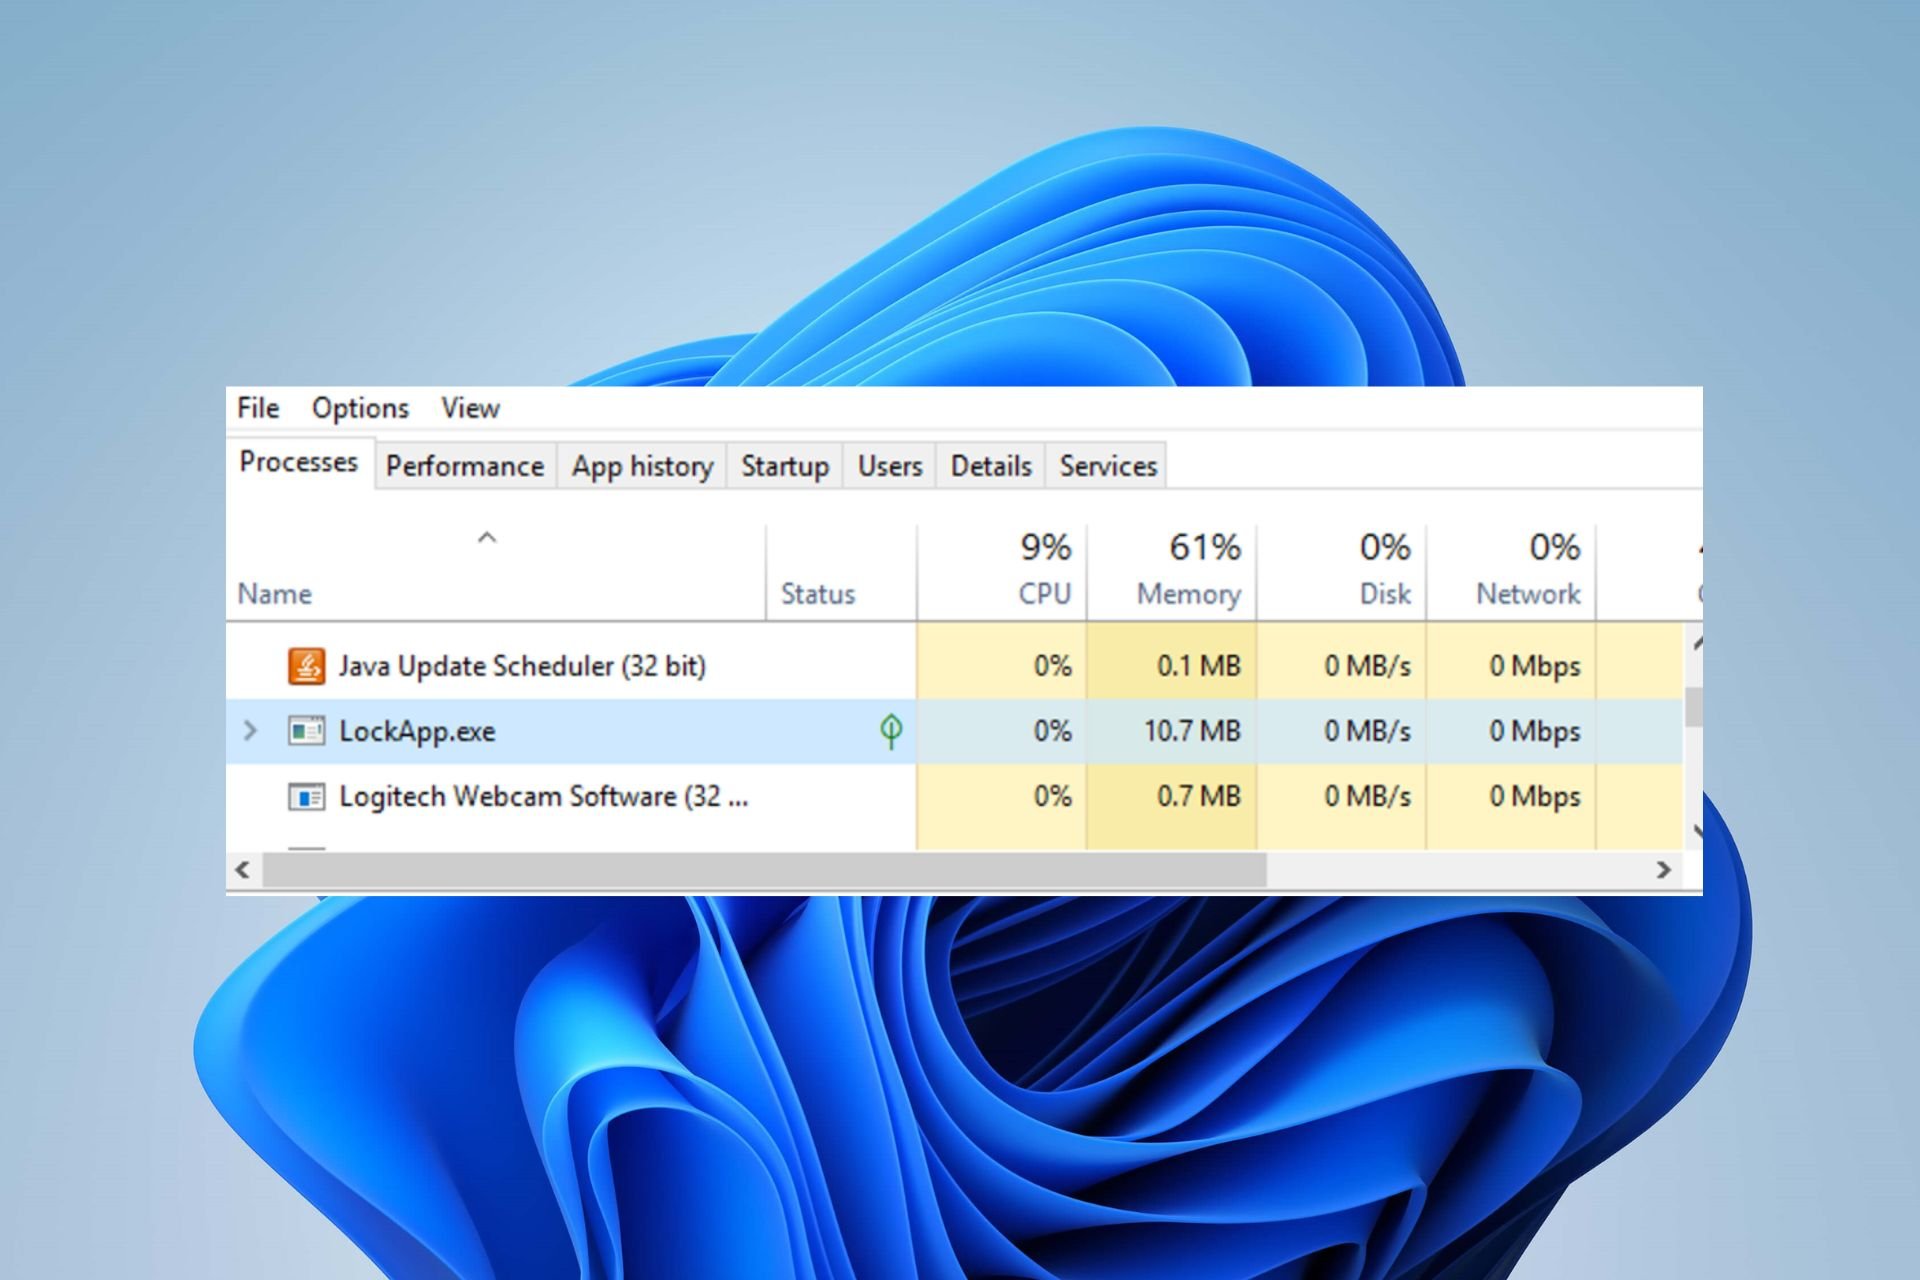
Numerous times, users have complained about seeing the LockApp.exe running in their Task Manager without knowing what it does.
The executable program can sometimes cause high CPU usage and other problems, if lockapp.exe has stopped working.
Alternatively, you can read our article about what to do if the LockAppHost.exe uses a lot of memory in Windows 11.
What is lockapp.exe?
LockApp.exe is part of Windows and is the default Lock Screen app. It is responsible for the background immediately after switching on the PC.
Some of its graphic user interface elements include the background image, date and time, quick notifications, the power control switch to shut down or restart, some preferences set by the user to show on the lock screen, and network internet access status.
So, its process is what generates and controls the Lock Screen. Furthermore, the program doesn’t do more to the system and mostly doesn’t cause any issues with its performance.
Sadly, some users reported high CPU and RAM usage by the lockapp.exe and some other lockApp.exe system errors. This can happen for many several reasons depending on the circumstances.
How can I disable LockApp.exe?
1. Disable LockApp.exe via the Windows Registry Editor
- Press Windows + R key to open the Run dialog box, type Regedit, and press OK to open the Registry Editor.

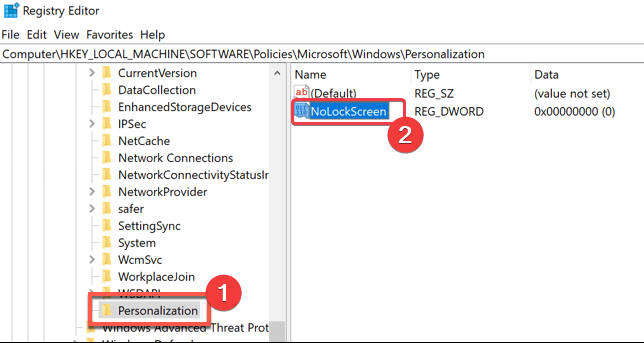
- Navigate to the following registry keys:
HKEY_LOCAL_MACHINE\SOFTWARE\Policies\Microsoft\Windows\Personalization - If you do not see the Personalization key, right-click the Windows entry, click New from the context menu and select Key, then name the new key Personalization.
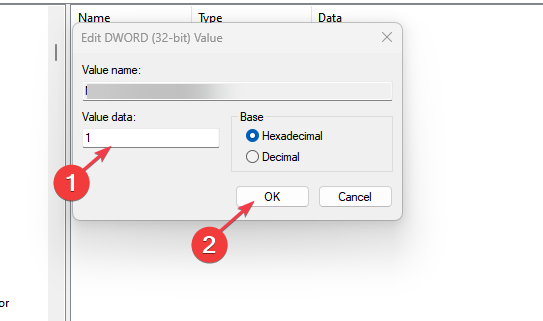
- Right-click the Personalization key, select New, and click DWORD (32-bit) value from the drop-down menu.

- Input NoLockScreen as the Value name, set the Value data to 1, and then click the OK button.

- Close the Windows Registry Editor page and restart your PC.

Tweaking the above registry keys will disable the lockapp.exe and prevent the lock screen activities from affecting the system. Read our article about what to do if you have a corrupt registry on Windows 11.
2. Disable LockApp.exe via File Explorer
- Press Windows + R key to open the Run dialog box, type the following and click OK:
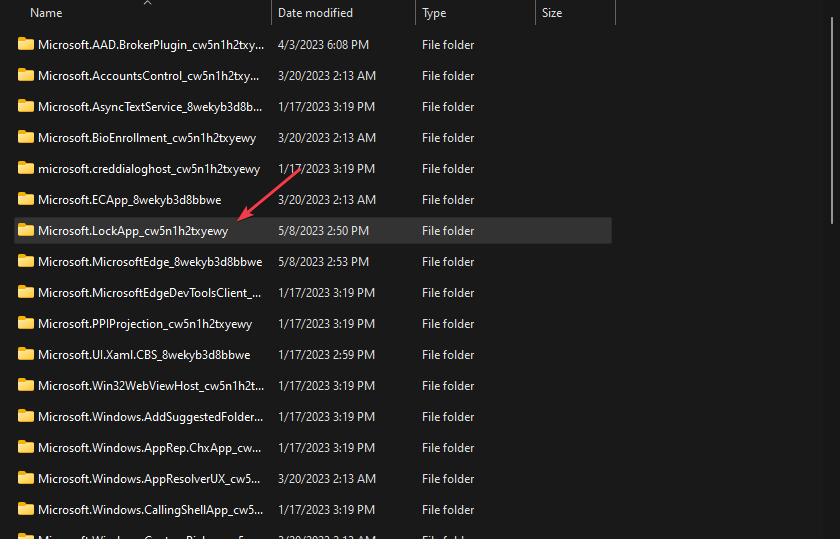
C:\Windows\SystemApps\ - In the SystemsApps folder, locate Microsoft.LockApp_cw5n1h2txyewy folder.

- Right-click on it and then Rename it to Microsoft.LockApp_cw5n1h2txyewy.backup.
- Exit the File Explorer and the LockApp.exe is disabled.


Renaming the folder will make it inaccessible when the program attempts to use it, causing the program to stop working.
In conclusion, we have a comprehensive guide on Windows 11 screen timeout not working and how to fix it in a few steps.
Still having issues? Fix them with this tool:
SPONSORED
If the advices above haven't solved your issue, your PC may experience deeper Windows problems. We recommend downloading this PC Repair tool (rated Great on TrustPilot.com) to easily address them. After installation, simply click the Start Scan button and then press on Repair All.