DirectX 9 For Windows 10 & 11: How to Download and Install
DirectX 9 may be required by certain games or apps
- DirectX 9 although old, can come in handy to play old games or programs on new computers.
- You can download DirectX 9 from the official link and follow the simple steps to install them.
Often some programs or games require you to have a certain version of DirectX such as DirectX 9 installed on your Windows 10 and Windows 11 PCs.
In this guide, we will share with you a detailed guide on how you can download DirectX 9 on your Windows 10 and 11 computer. Let us check out the solutions.
What is DirectX 9?
Microsoft launched DirectX 9 back in 2002, and it was compatible with Windows 98 and Windows XP. However, later it was supported by later versions as well.
Nowadays, Windows 10 and 11 come preinstalled with DirectX and they are made available to the OSs via the Windows Update. You no longer need to install them manually or separately.
DirectX 9, just like every other version of the DirectX family, ensures that compatible programs run smoothly without any issues.
While DirectX 9 is old, there are still some programs and games that require you to have this installed in order to play them. In case it is missing, you will come across an error message such as The program can’t start because d3dx9_41.dll is missing from your computer.
Check out the below steps and understand how you can download DirectX 9 on your Windows 10 or 11 PC.
How can download DirectX 9 on Windows 10 and 11?
1. Install DirectX 9 on Windows 10 & 11
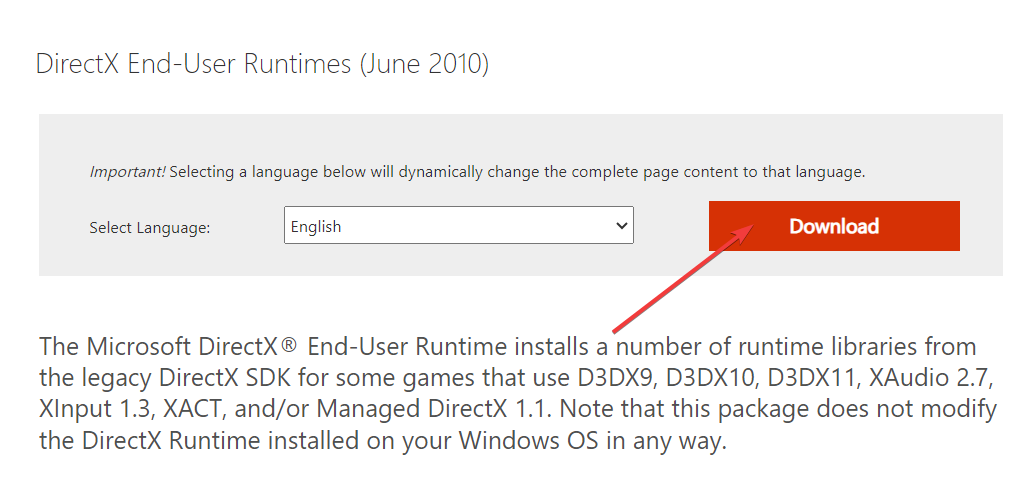
- Visit this official website to download DirectX 9.
- Click on Download.

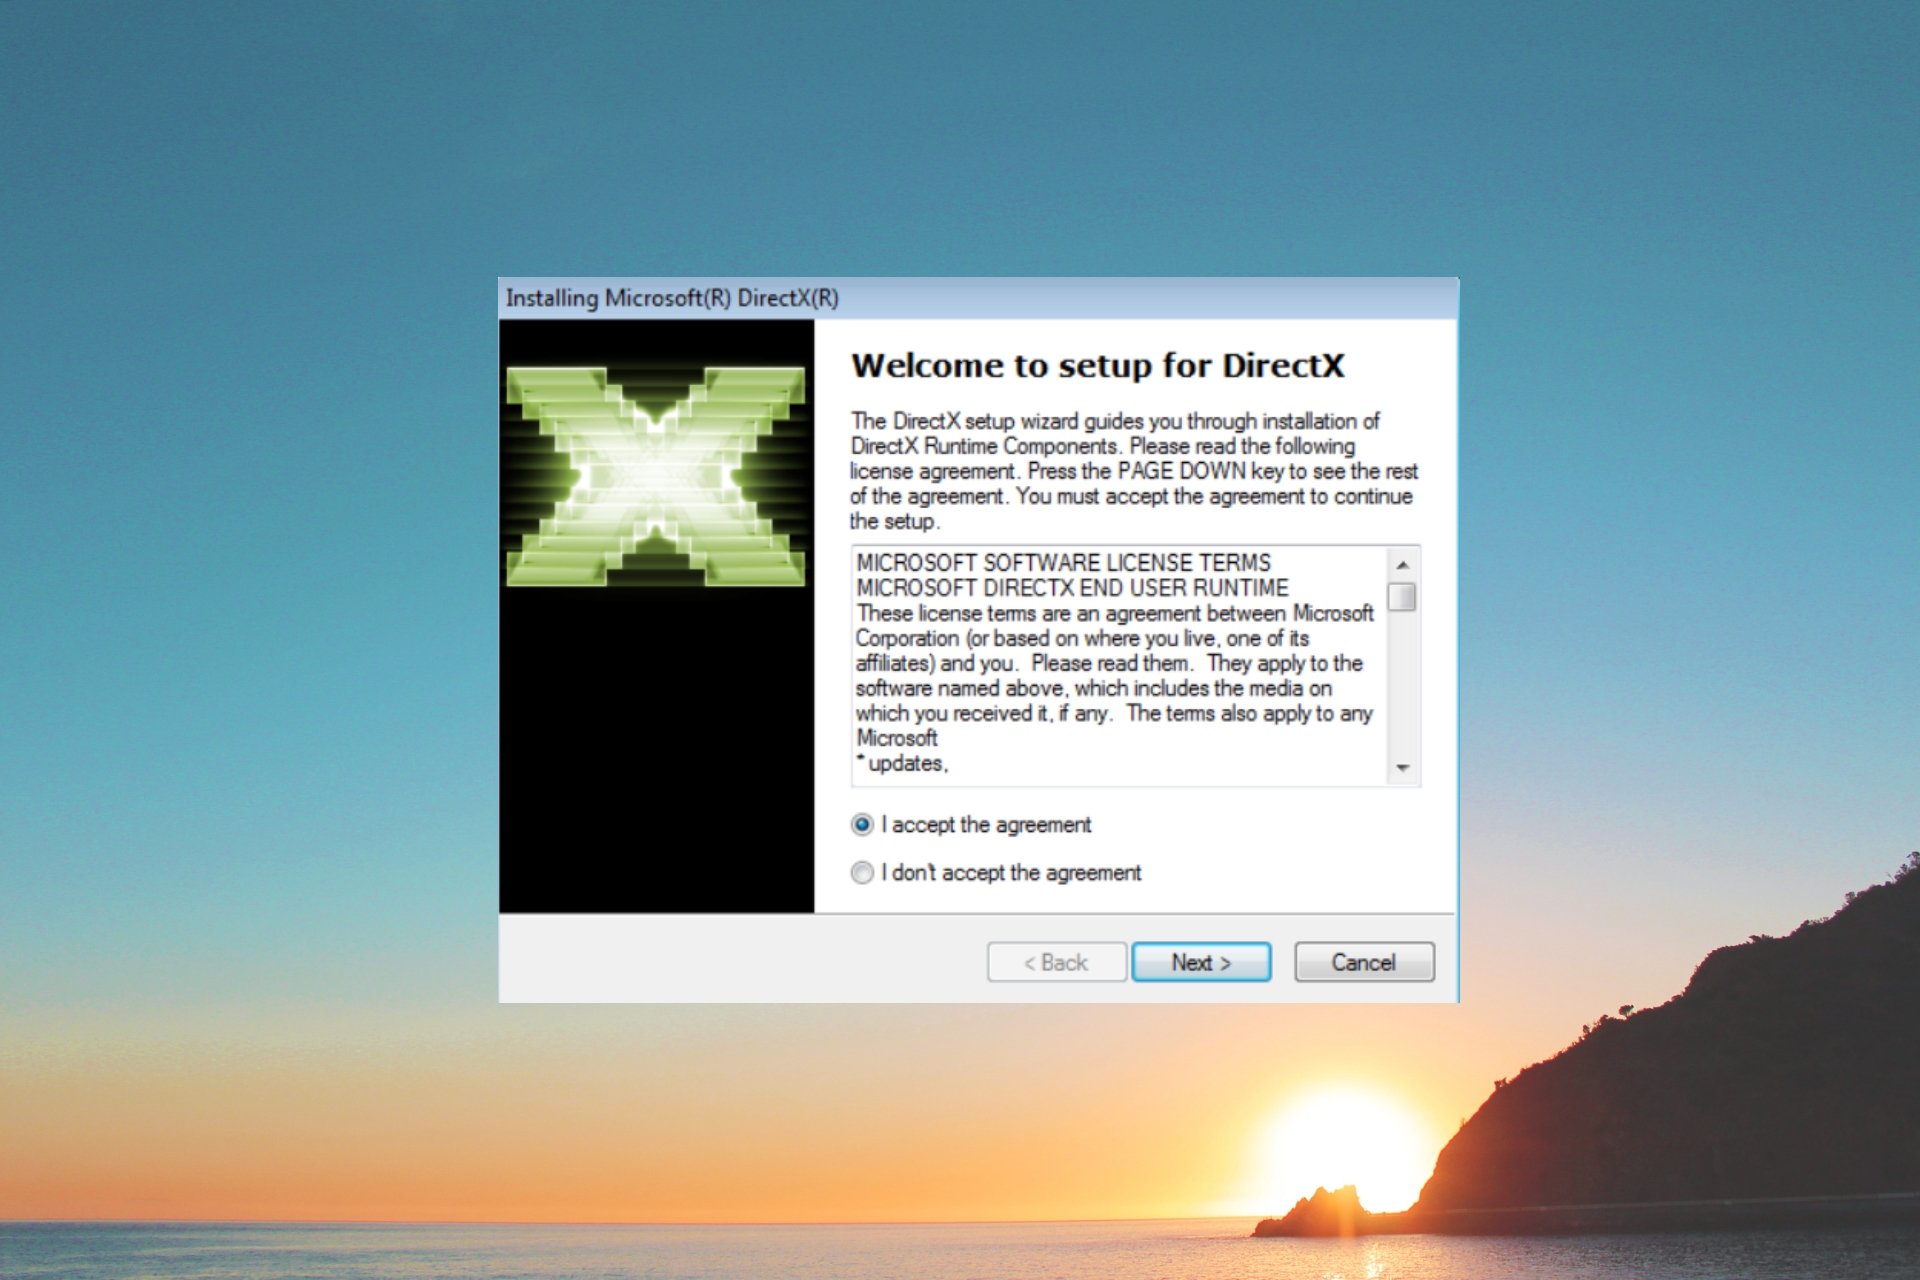
- Extract the contents of the ZIP file and click on the DirectX.sdk file.
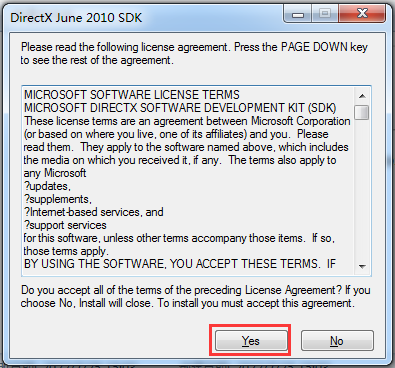
- Click Yes to accept the license terms and agreement.

- Click on Browse and select the location where you would like to install DirectX 9 and click OK.
- The installation will begin.
- Click Finish once the installation completes and restart your PC.
Following the above steps, you will be able to download and install DirectX 9 on your Windows 10 and Windows 11 computer.
The process is identical for both OSes so you won’t have any problems if you have upgraded to the new Windows 11.
However, do note that there are multiple readers who claimed that they aren’t able to play the program or game even after installing DirectX 9 on their PC.
In such a scenario, there is one more feature that you need to enable on your computer to enjoy the DirectX 9-supported software or games on your PC, the details of which you will find in the next section.
2. Enable Direct Play?
- Press the Win key to open the Start menu.
- Open Control Panel.

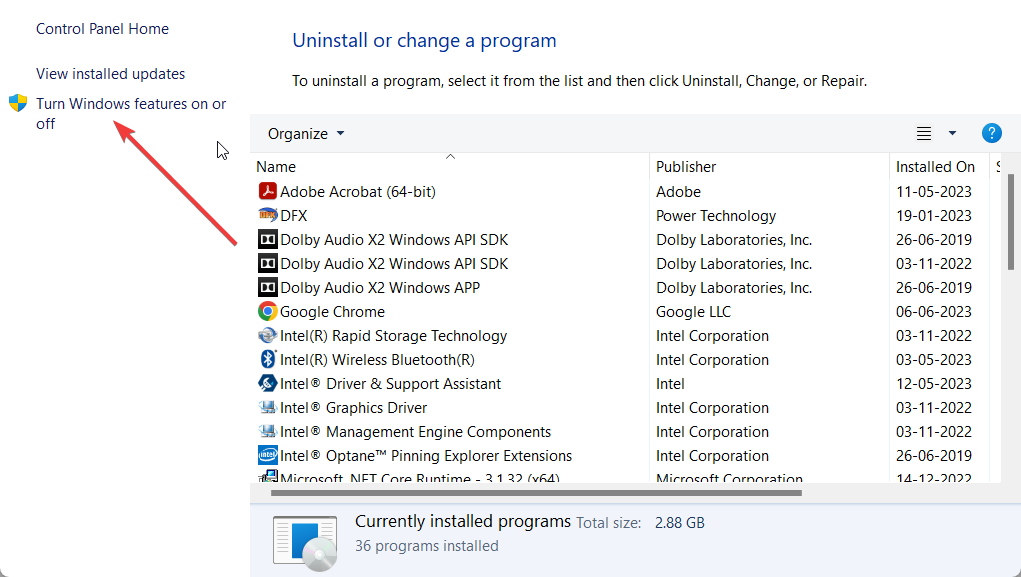
- Select Programs and Features.

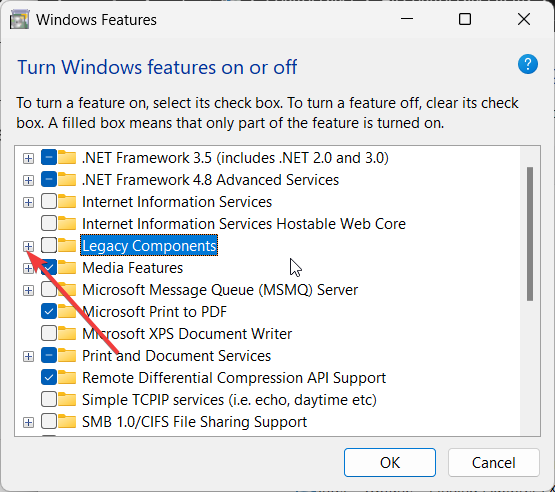
- Click on Turn Windows Features on or off from the left.
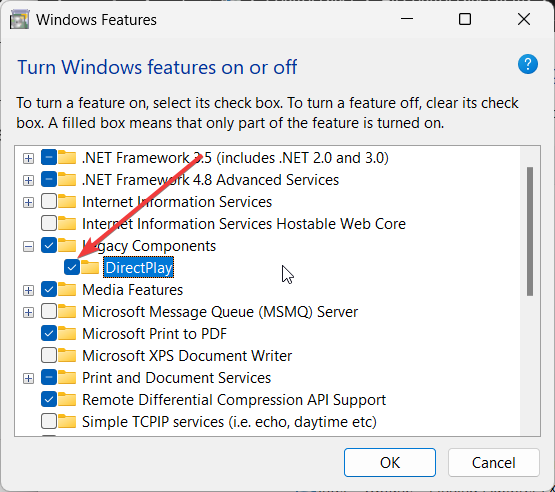
- Open Legacy Components.

- Tick Direct Play.
- Click OK and restart your PC.


Once you have enabled this feature, you will be able to play the DirectX 9-supported games and programs on your Windows 10 or 11 PCs without any issues.
That is it from us in this guide. We have a guide that lists down some of the best ways to fix DirectX errors on your computer.
You should also check out our guide that will help you to reinstall DirectX on Windows 11. This could come in handy when you are coming across DirectX-related issues on your PC.
If you are getting the d3d8.dll missing or not found error, then do not worry, as you can easily resolve it by following the solutions in our guide.
Feel free to let us know in the comments below, if you found this guide helpful, or if you opted for a different way to download DirectX 9 on your computer.
Still experiencing issues?
SPONSORED
If the above suggestions have not solved your problem, your computer may experience more severe Windows troubles. We suggest choosing an all-in-one solution like Fortect to fix problems efficiently. After installation, just click the View&Fix button and then press Start Repair.